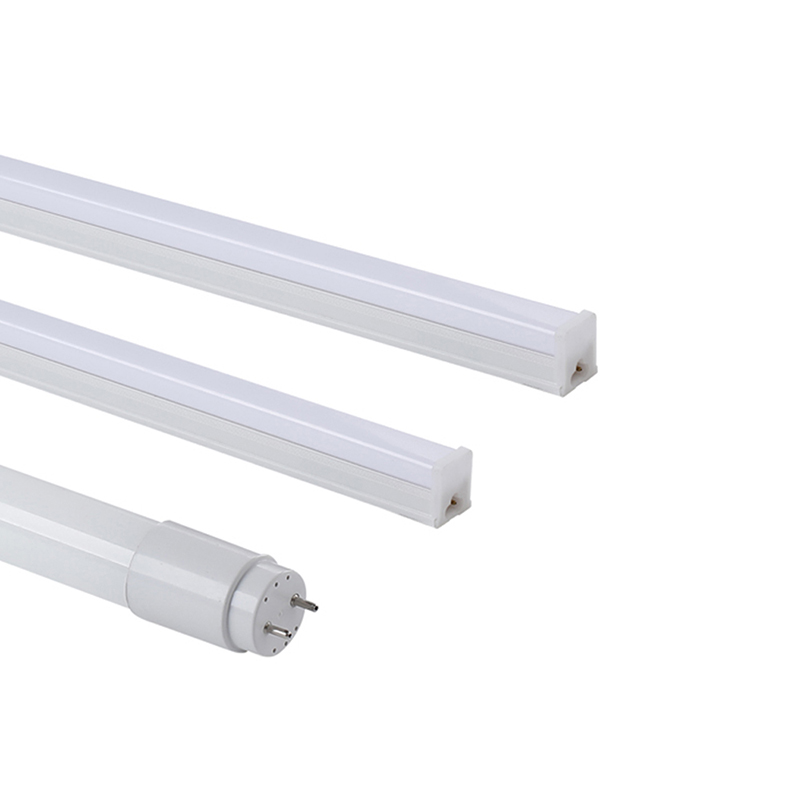
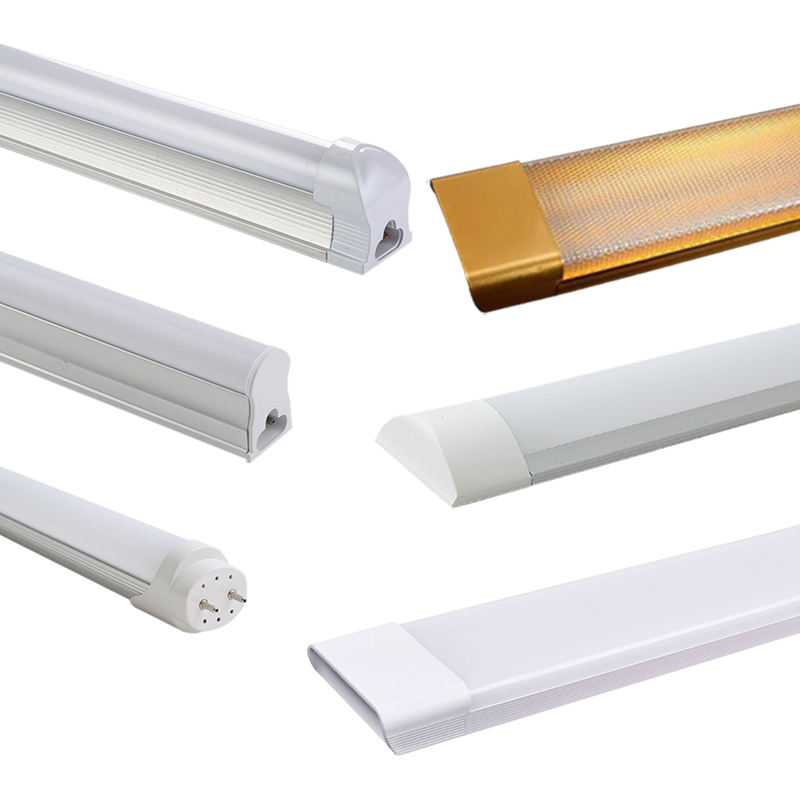
Hey there, lighting enthusiasts! Today, I’m going to walk you through the process of making your very own LED tube light. This project is not only fun but also super practical for anyone looking to upgrade their lighting setup. Let’s dive right in!
## Materials You’ll Need

– **PVC Pipe**: A long, hollow tube to house your LEDs. Make sure it’s sturdy and has a smooth interior.
– **LEDs**: High CRI (90+) white LEDs are ideal for bright, even lighting. You can also use RGB LEDs for customizable color options.
– **Power Supply**: A 24V power supply works great for most setups. Ensure it has enough current capacity for your LED array.
– **Resistors**: To limit the current flowing through each LED string. A 470 Ohm resistor per series is a good choice.
– **Diodes**: Four 1N4007 diodes to create a bridge rectifier.
– **End Caps**: To seal the ends of your PVC pipe.
– **Wiring**: Flexible wires for connections.
– **Soldering Equipment**: Soldering iron, solder wire, and helping hands.
## Step-by-Step Guide
### Step 1: Prepare the PVC Pipe
1. **Cut the PVC Pipe**: Split the PVC pipe lengthwise into two halves. This makes it easier to work with and ensures your LEDs are evenly spaced.
2. **Drill Holes**: Drill holes along the length of the PVC halves. The holes should be just large enough to fit your LEDs. Make sure they’re evenly spaced for uniform lighting.
### Step 2: Assemble the LED Array
1. **Insert LEDs**: Place the LEDs into the drilled holes. Ensure all LEDs are oriented in the same direction to maintain consistent polarity.
2. **Solder Connections**: Create series connections for your LEDs. For example, if your power supply is 24V and each LED has a forward voltage of 3V, you can connect 8 LEDs in series. Repeat this process to create multiple strings.
3. **Add Resistors**: Attach a current-limiting resistor to each series string. This is crucial for protecting your LEDs from burning out.
### Step 3: Build the Power Supply Circuit
1. **Bridge Rectifier**: Connect the four diodes to form a bridge rectifier. This converts AC to DC, which is necessary for powering your LEDs.
2. **Connect Power Supply**: Link the rectifier to your power supply and the LED strings. Ensure all connections are secure to avoid any electrical issues.
### Step 4: Enclose and Secure
1. **Reassemble PVC Pipe**: Once all LEDs and wiring are in place, reassemble the two halves of the PVC pipe. Use glue or tape to secure them tightly.
2. **Attach End Caps**: Seal the ends of the PVC pipe with the end caps. This gives your LED tube light a polished, professional look.

### Step 5: Testing and Final Touches
1. **Test the Light**: Plug in your power supply and turn it on. All LEDs should light up evenly. If any LEDs are off, check their polarity and connections.
2. **Adjustments**: If the light is too bright or dim, you can adjust the current-limiting resistors. This allows you to fine-tune the brightness to your liking.
## Safety Tips
– **Handle with Care**: When working with electrical components, always ensure the power supply is disconnected.
– **Proper Ventilation**: If you’re soldering, make sure you’re in a well-ventilated area to avoid inhaling fumes.
## Conclusion
And there you have it! Your very own DIY LED tube light. This project not only saves energy but also gives you a customizable lighting solution. Whether you’re using it for home decor, video production, or any other application, this LED tube light is sure to impress. Happy building, and don’t forget to share your creations with us!
Feel free to ask if you have any questions or need further clarification on any step. Let’s light up the world, one LED at a time!
#led light #lebekan